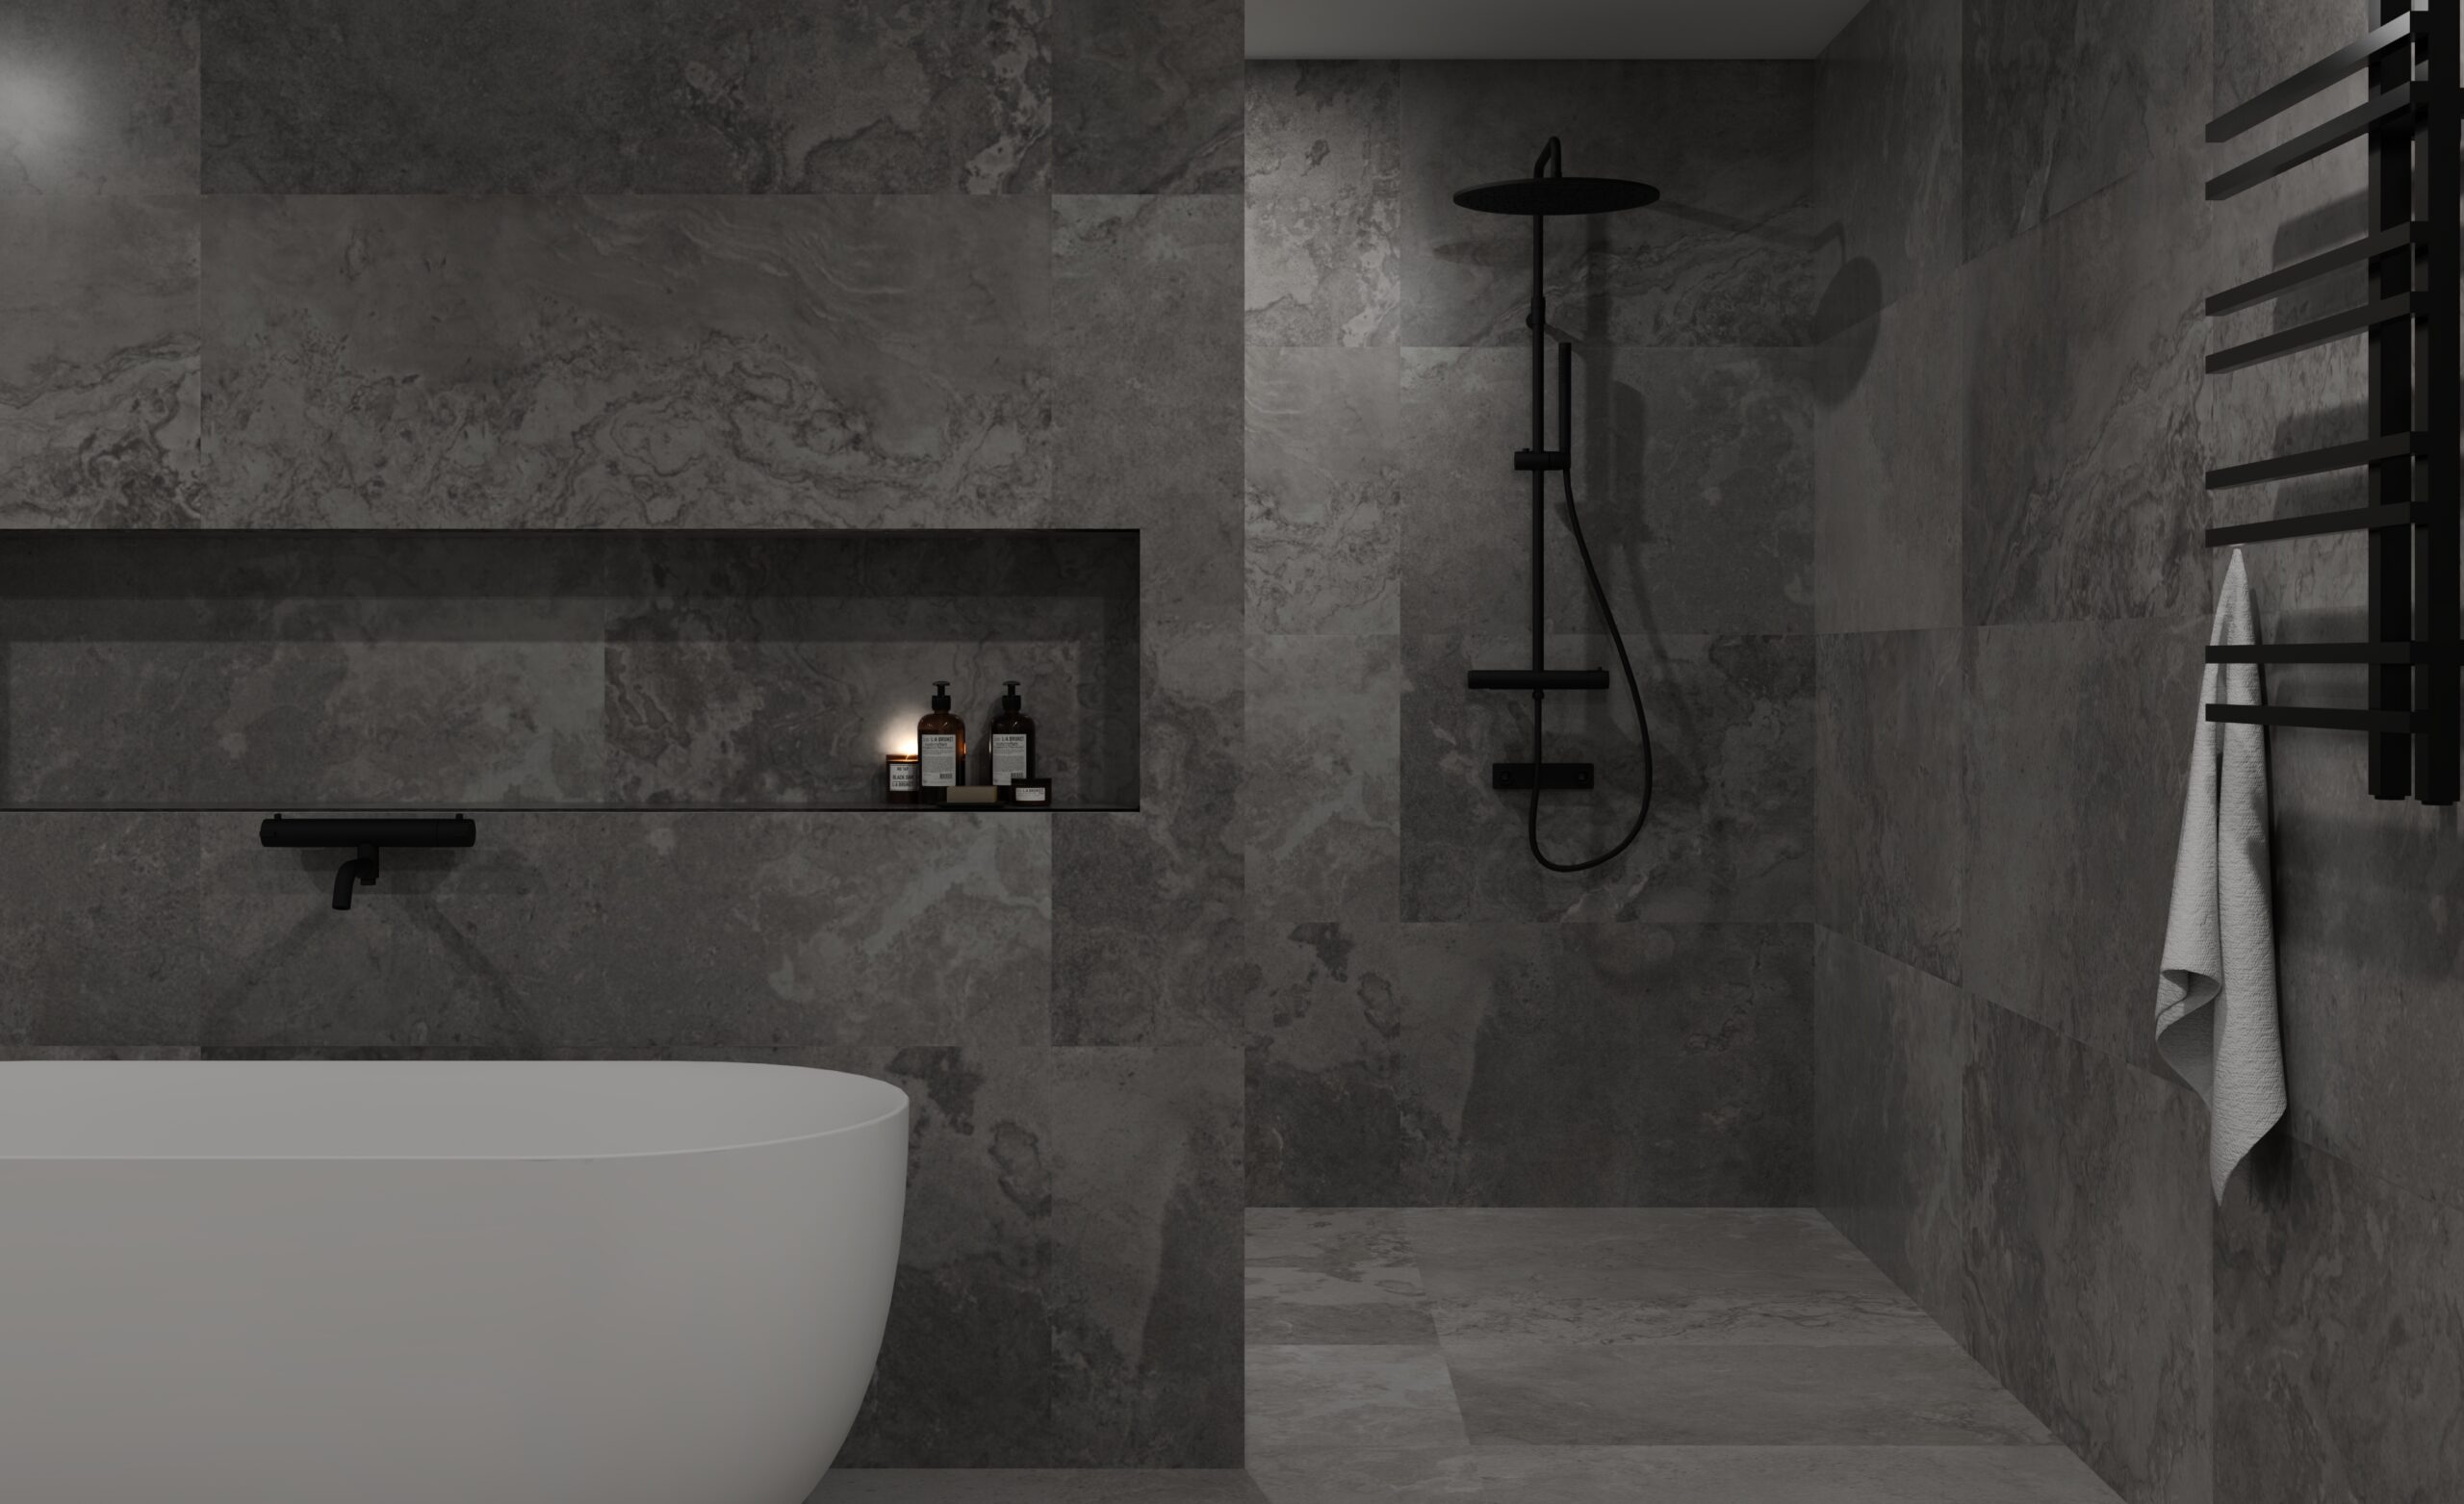
Think designing a luxurious bathroom takes hours of painstaking work? Think again! In our latest YouTube video, we set out to prove just how fast and easy it can be to use our bathroom planning tool, Spark Blueprint.
Our mission? To recreate a stunning natural stone bathroom in under 10 minutes. And guess what? We smashed it!
We started by scouring the internet for inspiration, landing on a gorgeous bathroom image featuring natural stone tiles, a sleek shower, and a freestanding tub. With our inspiration in hand, we opened up Spark Blueprint & got started designing.
Watch the video to see the magic unfold, or read on for a step-by-step breakdown of how we achieved bathroom design brilliance in record time.
1. Laying the Foundation (Effortlessly)
First things first, we needed to build the basic structure of the bathroom. Using Spark Blueprint’s intuitive interface, we quickly erected walls, added a dividing section to separate the shower area, and even incorporated a recessed shelf for toiletries – all with simple drag-and-drop actions. No complicated commands or coding are required.
2. Tile Time! (Made Simple)
Next, we dove into Spark Blueprint’s extensive library of tile options. With a vast array of colors, styles, and materials to choose from, finding the perfect natural stone for our floor and walls was a breeze. We opted for a lighter shade for the floor and a slightly darker, complementary tone for the walls.
Applying the tiles was just as easy, thanks to Spark Blueprint’s intelligent click-and-drag functionality. We simply selected our desired tile and applied it to the surfaces with a few clicks. Even those tricky corners and edges were completed easily.
3. Furnishing with Flair (in a Flash)
With the bathroom’s shell complete, it was time to add the finishing touches. We effortlessly placed a sleek black shower against the far wall, a luxurious freestanding bathtub, a stylish vanity, and even some fluffy towels. Spark Blueprint’s vast library of furniture and accessories offers endless possibilities for customisation.
4. Illuminating the Space (Brilliantly)
Lighting plays a crucial role in setting the mood and highlighting the beauty of any space. In Spark Blueprint, adjusting the lighting scheme is child’s play. We adjusted the number of spotlights in the ceiling using the planning tool. Doing that allowed us to create a final render close to the shading that was used in the original image.
5. Rendering with Speed (and Stunning Results)
The moment of truth! With our design complete, it was time to generate a photorealistic render. Spark Blueprint’s powerful rendering engine delivered stunning results in mere minutes. The final image was so realistic, it was hard to believe it wasn’t a photograph!
Spark Blueprint: Design Brilliance, Delivered Fast
Our bathroom planning tool, Spark Blueprint, makes it easy for anyone to design a beautiful and functional bathroom. This challenge demonstrated how quickly you can do it—just a few minutes! You don’t need any design experience to use it. The software’s intuitive interface, extensive library of assets, and powerful rendering engine make it the perfect tool for professionals and homeowners alike.
Ready to unlock your design potential?
Visit our website to learn more about Spark Blueprint and request a free demo today. You’ll be amazed at what you can achieve!


